So, Your Wallet’s Ready for a Room Addition? Let’s Break Down That Cost Like Pros!
Hey there, fellow space-starved friend! We’ve all been there. Staring at that cramped living room or dreaming of a home office that isn’t a glorified closet. You want to add a room, but then reality hits: “What’s this gonna cost me?” Cue the cold sweat. Relax—we’re D&D Home Remodeling, your San Jose-based remodeling nerds, and we’ve cracked more cost codes than a locksmith at a key convention. Let’s demystify room addition pricing together, no jargon, no fluff.
Why Room additions Feel Like a Financial Rollercoaster (Spoiler: They Don’t Have To)
Ever wonder why your neighbor’s “small bedroom addition” cost twice what you expected? It’s not magic—it’s variables. Size matters (obviously), but so does whether you’re building over a crawl space or adding a second story. Permits in San Jose? They’re their own special adventure. And materials? Let’s just say “builder-grade” vs. “artisanal reclaimed teak” have different price tags. IMO, the biggest shocker isn’t the cost—it’s hidden surprises. Like finding out your “simple” addition needs electrical upgrades because your panel’s older than disco.
The Real-Deal Room Addition Cost Breakdown (No Sugarcoating)
Alright, let’s talk numbers. Forget vague online estimates. Here’s what you’ll actually pay in the Bay Area, based on our projects from Sunnyvale to Morgan Hill:
Typical Room Addition Costs (San Jose & Surrounding Areas)
| Cost Factor | Low End | High End | Why the Range? |
|————————|————-|————-|———————————————————————————–|
| Foundation & Framing | $50K | $100K+ | Slab vs. basement, soil issues (common in Saratoga hills), structural upgrades. |
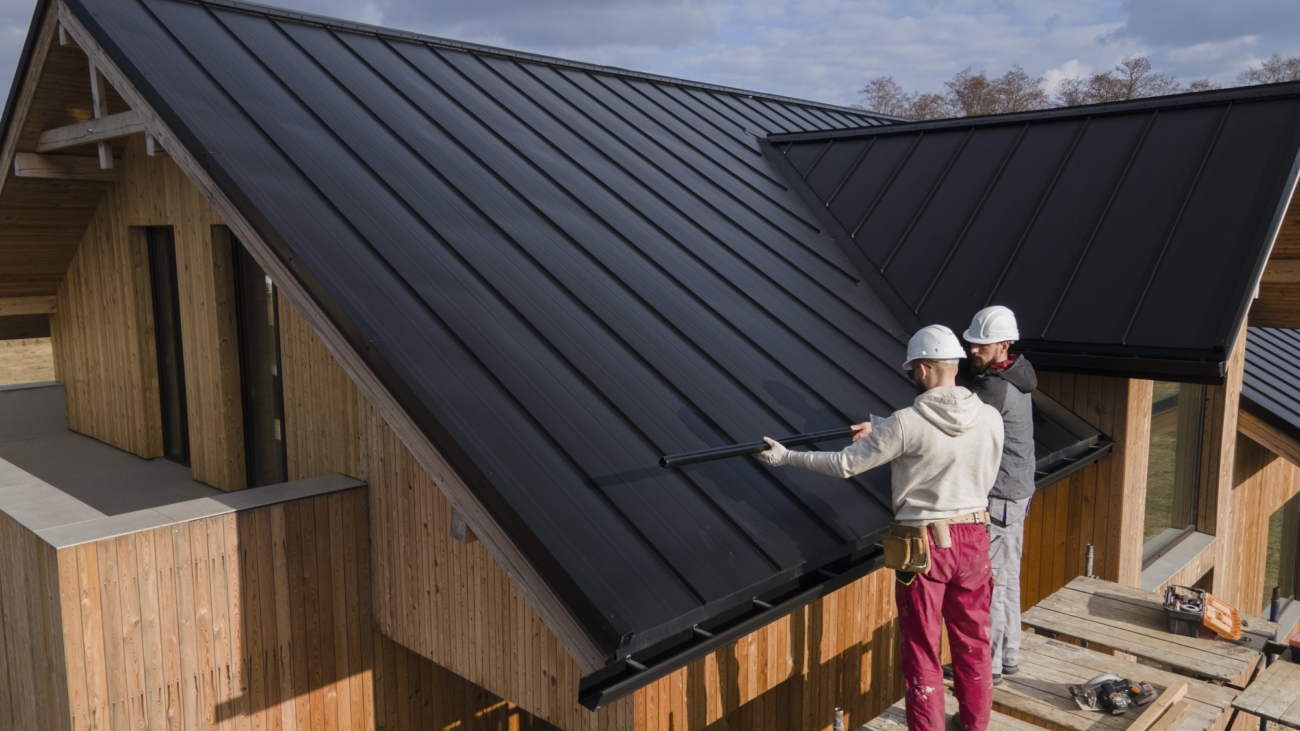
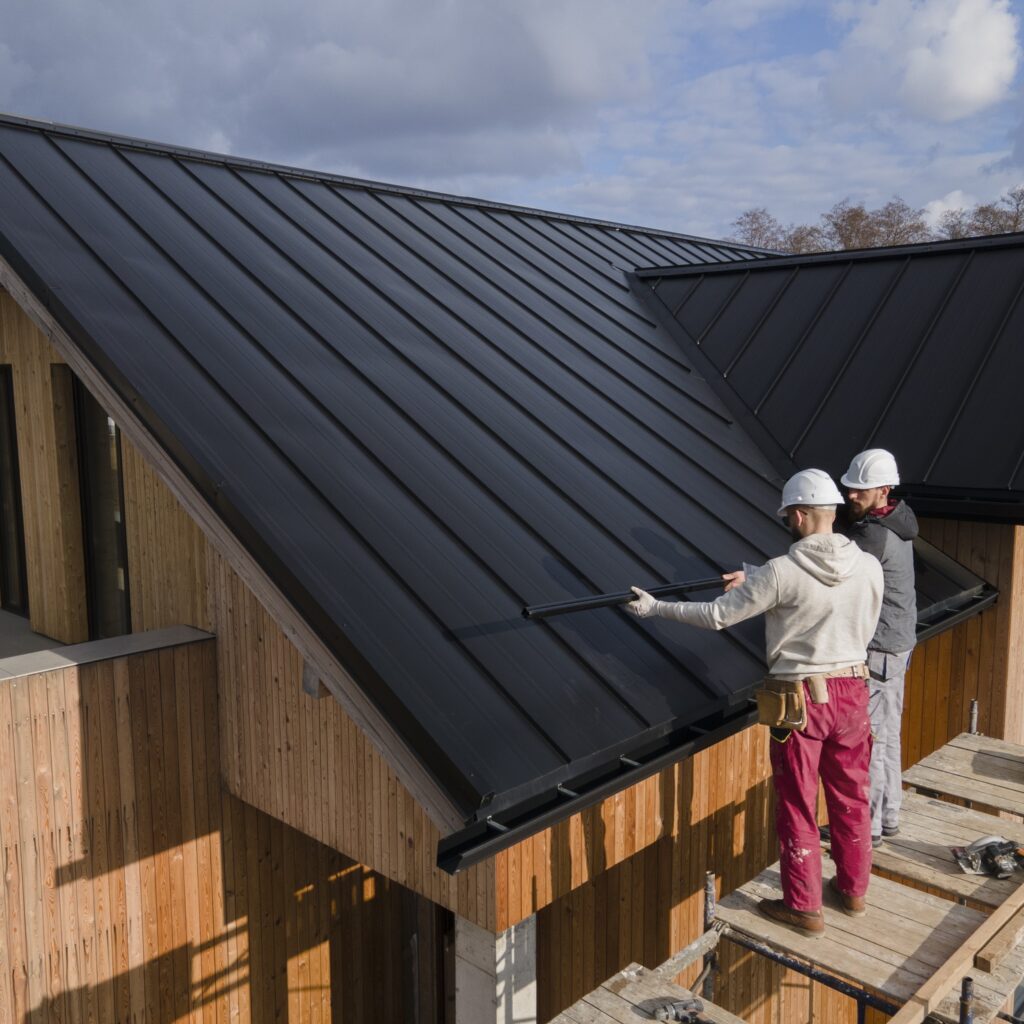
| Roofing | $15K | $30K | Pitch complexity, material (asphalt vs. tile), tying into existing roof. |
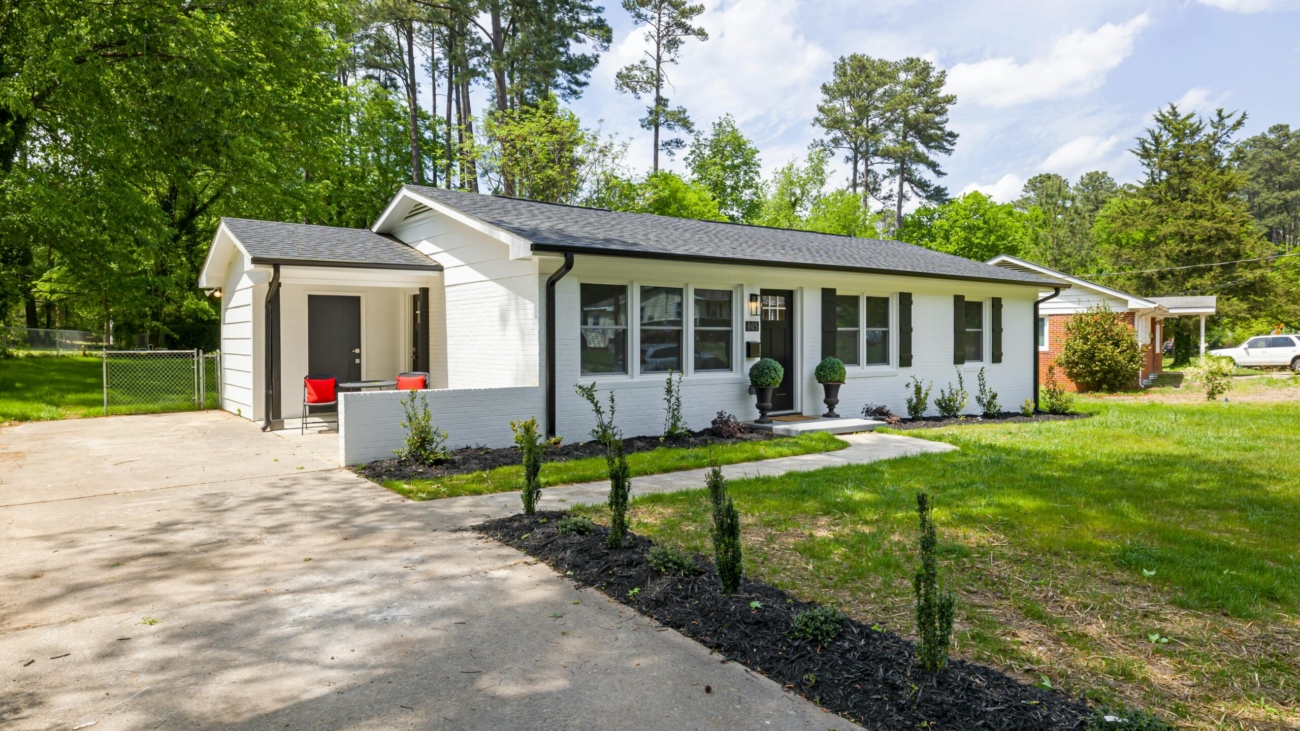
| Exterior Finishes | $10K | $25K | Siding (stucco, wood), windows, doors—matches your exterior remodeling vibe. |
| Interior Build-Out | $20K | $50K | Insulation, drywall, electrical, HVAC. This is where “basic” becomes “bougie.” |
| Permits & Fees | $5K | $15K | San Jose, Cupertino, Los Gatos—each city has its own tax (literally). |
| Design & Plans | $3K | $10K | Architect vs. design-build general contractor like us. FYI: Skip this? Big risk. |
| Contingency (10-20%) | $10K+ | $30K+ | Surprise! We call this the “abortable” buffer—for when walls hide plumbing nightmares. |
Total Ballpark? For a 500 sq ft family room in Campbell or Santa Clara? You’re looking at $150K–$300K. Before you faint—yes, Bay Area price tags bite. But this isn’t just adding space; it’s investing in your home’s value and sanity.
Why “Just Any Contractor” Might Cost You More (And Grey Hairs)
Look, we get it. Hiring a bathroom remodeler for your kitchen reno sounds like a “deal.” Until it’s not. Room additions? They’re general remodeling on steroids. You need a house remodeling contractor who gets:
- Engineering puzzles (like matching rooflines in windy Los Gatos).
- Permit labyrinths (San Jose’s planning department isn’t for amateurs).
- Budget landmines (e.g., discovering your “abortable” project needs $20K in soil compaction).
A true general contractor does more than swing hammers. We’re your permit whisperers, supplier negotiators, and “oh-crap” problem solvers. Choosing the best remodeling company isn’t vanity—it’s damage control.
How D&D Home Remodeling Saves Your Budget (And Your Marriage)
Confession: We’ve fixed botched additions where homeowners tried to DIY or hired “Uncle Bob’s Cheap & Speedy Builders.” Spoiler: It wasn’t cheap. Or speedy. As a full home remodel pro serving San Jose, Fremont, Milpitas, and beyond, here’s our cheat code:
- Transparent Quotes: We break down cost line-by-line—no mystery fees.
- Local Savvy: We know Campbell inspectors, Sunnyvale permit quirks, and where to source materials without markup.
- Contingency Plans: Our projects are designed to be abortable at key phases. Find asbestos? We pause, reassess, and avoid budget meltdowns.
One client in Saratoga wanted a sunroom but hit bedrock. Instead of blasting (cha-ching!), we redesigned it as a deck-supported space—saving $45K. That’s the D&D difference.
Beyond Room Additions: What Else We Geek Out On
While we’re your go-to for home additions, we also crush:
- Bathroom remodels (because nobody likes pink tile from 1972).
- Exterior remodeling (siding, roofing—weatherproofing your castle).
- Whole-house refreshes (from Morgan Hill fixer-uppers to Cupertino tech-pads).
Seriously, if it involves a hammer and dreams, we’re in.
FAQs: Your Room Addition Cost Questions, Answered
Q1: What’s the #1 cost driver I can control?
A: Finishes. That $5/sq ft tile vs. $50/sq ft? Your choice. We guide you toward splurges that matter (durable floors) vs. savings (paint colors).
Q2: How long will my addition take?
A: 3–6 months in the Bay Area. Permits alone take 6–8 weeks. Pro tip: Start planning before rainy season.
Q3: Can I finance this without selling a kidney?
A: Yes! HELOCs, renovation loans—we’ll connect you with lenders we trust.
Q4: Why choose D&D over other “home remodeling services near me”?
A: We’re local (San Jose-based), obsessive about details, and treat your home like our own. Also, our clients keep referring friends. That humble brag? Earned.
Ready to Turn That Empty Yard into Your Dream Space?
Let’s be real: Room additions are big. But when done right? They’re life-changing. No more Tetris-ing furniture or working from the laundry room. If you’re in San Jose, Santa Clara, or anywhere in the South Bay, let’s chat. We’ll give you a clear price, a realistic timeline, and zero sales fluff. Because at D&D Home Remodeling, we believe your dream space shouldn’t require a mystery novel budget.
Contact us today—your future, spacious, non-claustrophobic self will thank you. 😉