Ever stood in the middle of your own home and felt a profound sense of… meh? The cabinets are from a bygone era, the bathroom tile is a color that has no name in nature, and the floorplan makes you feel like you’re navigating a labyrinth every time you need a snack. We get it. We’ve been there, both as homeowners and as the team at D&D Home Remodeling in San Jose that helps people just like you fix it.
Let’s be real, the idea of a renovation can be equal parts thrilling and terrifying. On one hand, you have Pinterest boards bursting with dream kitchens and spa-like bathrooms. On the other, you have the looming questions about budget, timelines, and the sheer chaos of it all. Where do you even start? Do you call a bathroom remodeler, or do you need a full home remodel strategy?
Well, take a deep breath. We’re going to walk through this together, no hard hats required (yet).
First Things First: The “Why” Before the “What”
Before we even think about picking out quartz countertops or hexagon floor tiles, we need to have a heart-to-heart about your goals. This is the single most important step, and skipping it is like trying to build a house without a foundation—a surefire path to a project that feels, well, abortable.
Ask yourself:
- Are we looking to increase our home’s resale value? If so, your focus might be on key areas like kitchens and bathrooms that offer the best return on investment.
- Are we creating a forever home for our growing family? This might mean prioritizing home additions, reconfiguring layouts for an open floor plan, or adding durable, low-maintenance materials.
- Are we just desperately tired of that pepto-bismol pink bathtub? Hey, a valid and noble cause. This is about personal satisfaction and finally creating a space you love coming home to.
Understanding your “why” helps us, as your potential renovation contractor, tailor the plan to your life, not just your property. It dictates everything from the budget to the scope of work. For instance, a general remodeling project to boost value is a different beast than a custom full home remodel designed for your specific lifestyle.
The Budget Talk (We Promise, It Won’t Be Painful)
Let’s tackle the elephant in the room: the cost. IMO, one of the biggest mistakes people make is having a vague number in their head without understanding what it actually covers. The price of home remodeling services isn’t just for materials and labor; it’s a complex soup of permits, design, potential structural surprises, and, yes, a contingency fund for those “oh, wonderful” moments when we open up a wall.
When you’re searching for “home remodeling services near me” and comparing quotes, you’re not just comparing a number. You’re comparing:
- The quality of materials
- The experience level of the general contractor and their tradespeople
- The project management system
- The warranty and post-completion support
A super low bid might be tempting, but it often means corners are being cut somewhere, and that’s a risk you don’t want to take with your biggest investment. A reputable company like ours, D&D Home Remodeling, provides transparent, detailed quotes so you know exactly where your investment is going. We believe in no surprises, except for the good kind, like realizing your project is finished ahead of schedule.
The Dream Team: Why Your Contractor Choice is Everything
You wouldn’t let just anyone perform open-heart surgery, and you shouldn’t let just anyone tear apart your kitchen. Choosing your house remodeling contractor is the most critical decision you’ll make. This isn’t just about hiring a “general contractor”; it’s about hiring a partner.
So, what separates the best remodeling company from the rest?
- Communication: They should return your calls and emails promptly and speak to you in plain English, not just construction jargon.
- Transparency: They should be an open book about their process, their team, and their pricing.
- Proven Track Record: A robust portfolio and verifiable references are non-negotiable.
- Problem-Solving Skills: Renovations are a series of solved problems. A great contractor anticipates them and has solutions ready.
We built D&D Home Remodeling on this exact philosophy. We’re not just a faceless company; we’re your neighbors in San Jose. We serve families across Santa Clara, Campbell, Milpitas, and the wider Silicon Valley area, and our reputation is everything. We’re in this with you for the long haul.
A Peek at Your Options: From Facelifts to Full Transformations
The world of remodeling is vast. To help you visualize the possibilities, let’s break down some common project types and what they typically entail.
| Project Type | What It Usually Involves | Ideal For… |
|---|---|---|
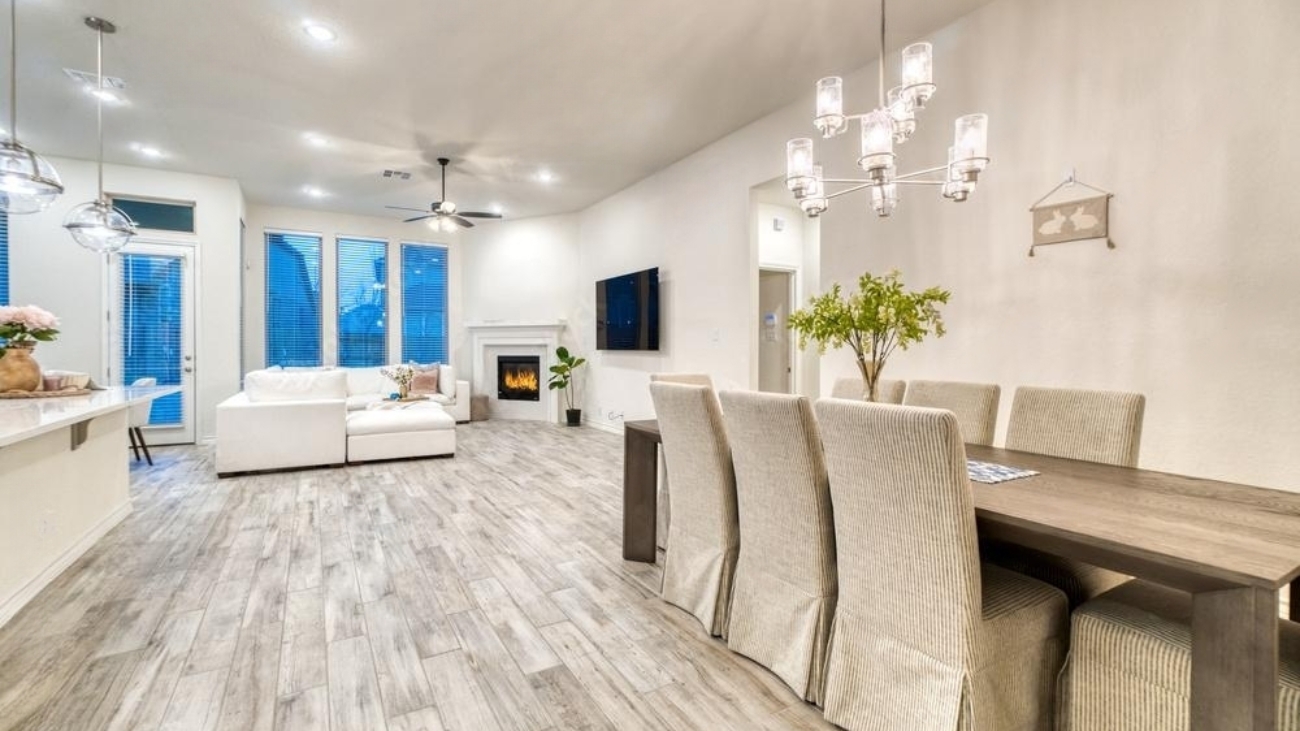
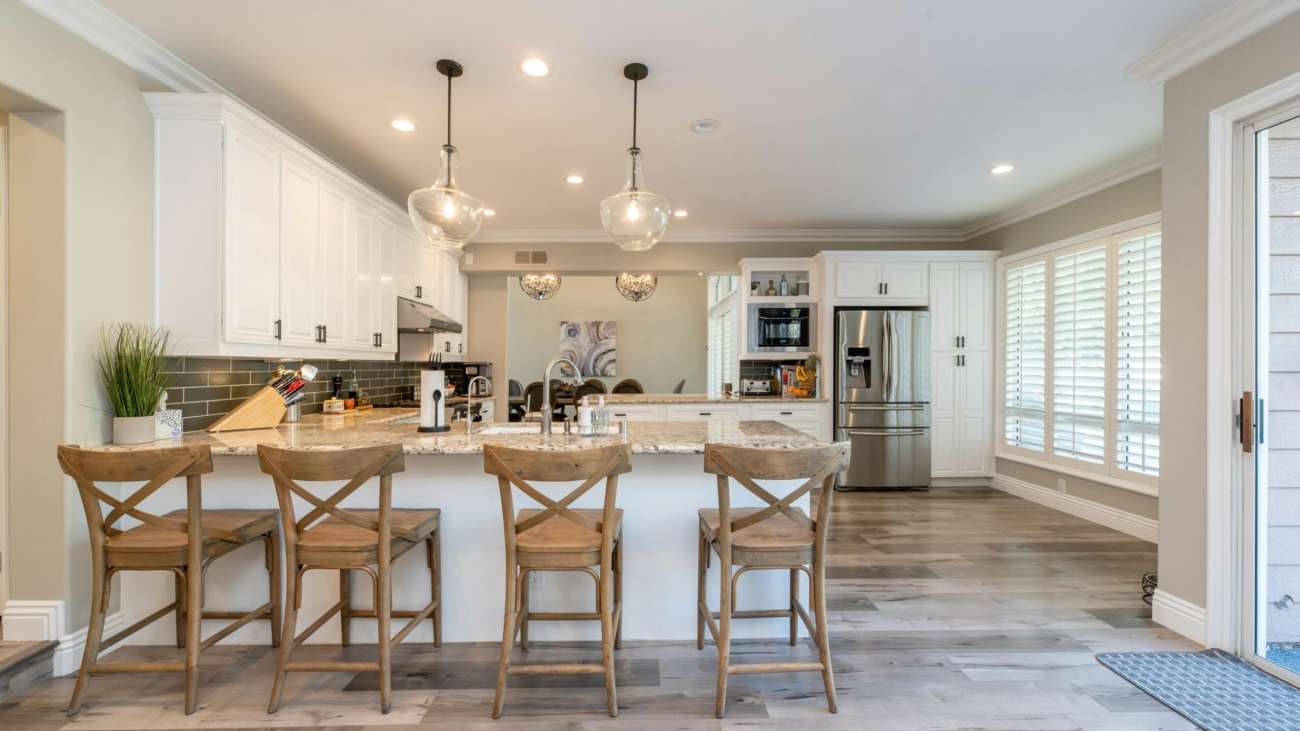
| Kitchen Remodel | Cabinet refacing or replacement, new countertops, appliances, flooring, lighting, and plumbing fixtures. | Homeowners wanting the biggest impact on daily life and resale value. The heart of the home, after all. |
| Bathroom Remodel | Updating vanities, toilets, tub/shower units, tile work, ventilation, and lighting. | Anyone suffering from outdated linoleum or a lack of storage. A little change here makes a huge difference. |
| Home Additions | Adding square footage, like a new bedroom, sunroom, or expanding the living area. | Growing families who love their location but need more space without the hassle of moving. |
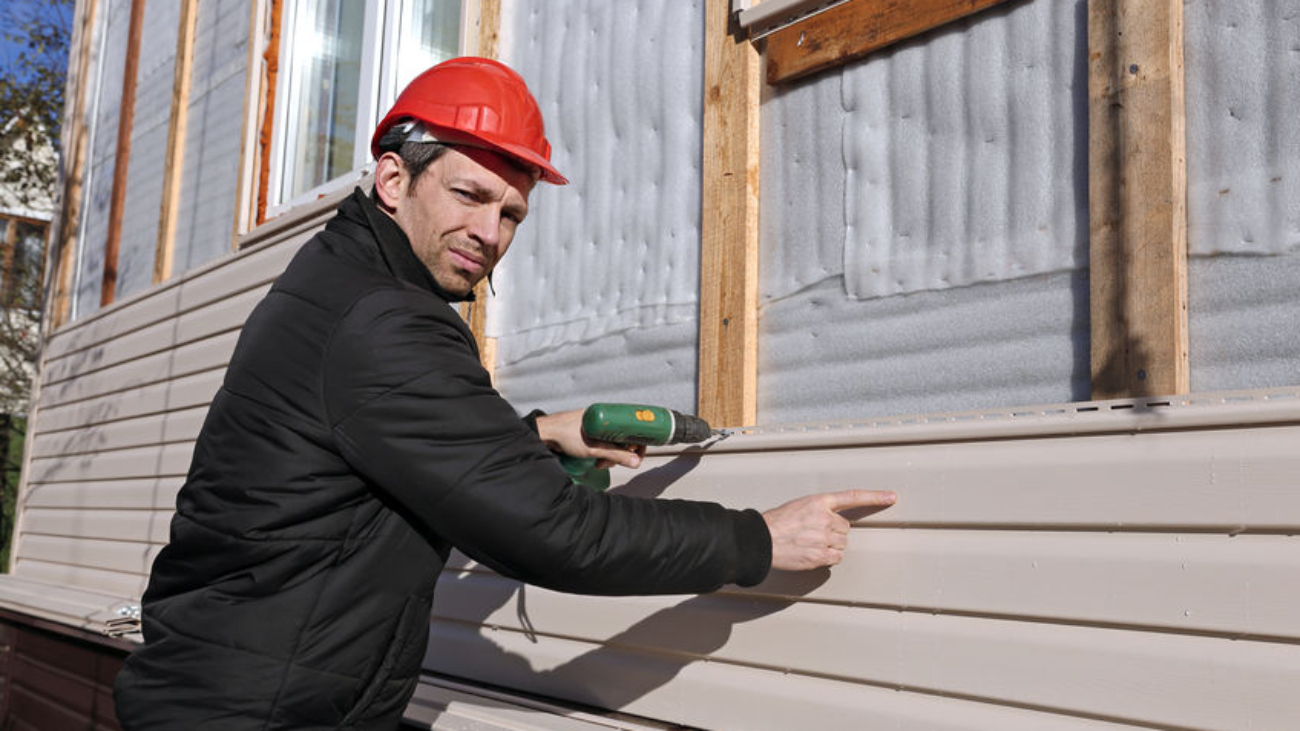
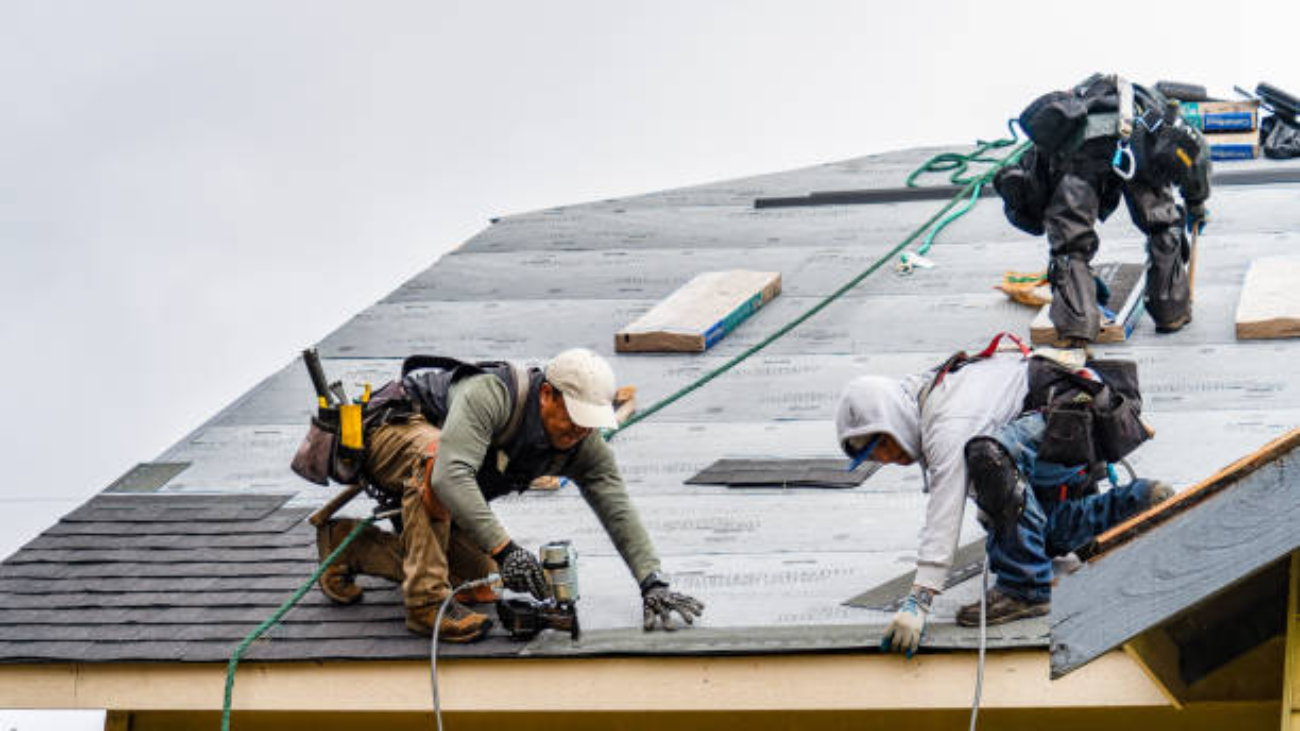
| Exterior Remodeling | New siding, windows, doors, roofing, or landscaping to boost curb appeal. | Making a great first impression and improving your home’s energy efficiency and weather protection. |
| Full Home Remodel | A comprehensive overhaul of the entire house, often involving structural changes, electrical, and plumbing. | Those with a larger vision for transforming their entire living environment, often for a forever home. |
As you can see, whether you’re in a classic Saratoga charmer needing a historical touch or a Sunnyvale townhouse ready for a modern update, the scope of work can vary dramatically. This is where a detailed consultation is worth its weight in gold. We help you figure out not just what you want, but what makes the most sense for your home and your life.
The Nitty-Gritty: What the Process Actually Looks Like
Okay, you’ve got your plan, your budget, and your team. What now? While every project is unique, they generally follow a similar rhythm. Knowing this ahead of time can make the whole process feel less chaotic.
Phase 1: Design & Planning
This is the blue-sky phase! We work with you (and sometimes an architect or designer) to create detailed plans. We nail down every selection, from the type of door handle to the shade of white for the walls. This is also when we secure all the necessary permits from the local authorities in San Jose or Cupertino or wherever your home is. Thorough planning here prevents costly changes later.
Phase 2: Demolition & Rough-In
The messy part begins! This is when we carefully remove the old stuff. Then, the “rough-in” work starts—this is when the electricians, plumbers, and HVAC pros come in to run new lines and pipes inside the walls and floors. Your house will look like a skeleton, but this is where the magic starts to take shape.
Phase 3: Installation & Construction
Walls go back up, drywall is hung, and the new elements are installed. Cabinets, windows, bathtubs—you’ll start to see your vision come to life. This phase requires meticulous coordination between different trades to ensure everything fits and functions perfectly.
Phase 4: Finishes & Final Inspection
The fun part! This is where we add the personality: painting, installing light fixtures, hanging mirrors, and laying flooring. Once everything is complete, we do a final walkthrough with you to ensure every detail is perfect. We also handle the final municipal inspections to get everything signed off and official.
Your Top Remodeling Questions, Answered
We hear a lot of the same great questions from homeowners in Los Gatos, Fremont, Morgan Hill, and beyond. Here are a few of the most common ones.
1. How long will a typical kitchen or bathroom remodel take?
There’s no one-size-fits-all answer, but a good rule of thumb is 6-8 weeks for a moderate kitchen remodel and 3-4 weeks for a standard bathroom. A full home remodel, of course, can take several months. The key is to have a realistic timeline from your contractor from the start, with clear milestones.
2. Should we move out during the renovation?
For smaller projects like a single bathroom, you can probably tough it out. For a full kitchen or a whole-house remodel, we highly recommend finding temporary lodging. The dust, noise, and lack of functional utilities (like a kitchen or bathroom) can be incredibly stressful. It’s an added cost, but for your sanity, it’s often worth it.
3. How do we handle the dust and mess?
A professional crew will take containment very seriously. We use zip-wall barriers, plastic sheeting, and floor protection to seal off the work area from the rest of your home. We also run industrial air scrubbers to filter dust particles. A clean worksite is a safe and efficient worksite, FYI.
4. What happens if we find a problem, like mold or faulty wiring, after opening a wall?
This is the “unknown unknown” that every homeowner fears. A trustworthy contractor will have a clear protocol for this. At D&D Home Remodeling, we immediately pause work, document the issue for you, and discuss the options and any associated impact on timeline and price. We make the process completely transparent so you can make an informed decision without pressure.
Wrapping It All Up: Your Dream Home is Closer Than You Think
So, there you have it. The wild world of home renovation, demystified. It’s a journey of a thousand decisions, a bit of dust, and a whole lot of transformation. But when you finally get to enjoy that beautiful new kitchen with your family or relax in your serene, new master bathroom, every single decision will feel worth it.
The most important takeaway? You don’t have to navigate it alone. Having a skilled, communicative partner makes all the difference between a stressful ordeal and an exciting adventure.
If you’re in San Jose or anywhere in the South Bay—from Santa Clara to Saratoga—and you’re ready to turn that “meh” feeling into a “wow” experience, we’d love to chat. Give us a call at D&D Home Remodeling. Let’s build something amazing, together.