Creating Multi-Generational Spaces: Your Whole Home Remodeling Adventure Awaits
Hey there, fellow home enthusiasts! Let’s chat about something we’ve seen transform Silicon Valley families: multi-generational living. Gone are the days when Grandma’s visits meant inflatable mattresses in the living room. Today, it’s about crafting intentional spaces where toddlers, parents, and grandparents thrive together. And honestly? It’s way more fun (and less chaotic) than it sounds. At D&D Home Remodeling in San Jose, we eat, sleep, and breathe this stuff. Why? Because we’ve helped families from Sunnyvale to Morgan Hill turn their homes into flexible, functional hubs—no daily turf wars required.
Why Silicon Valley Families Are Going Multi-Gen
Ever notice how “backyard granny flats” in Campbell or Saratoga are popping up like espresso shops? Blame it on our wild housing market or just the joy of shared babysitting. But here’s the real scoop: multi-gen living solves real problems. Rising cost? Check. Aging parents needing support? Double-check. We’ve seen clients in Cupertino and Los Gatos choose this over selling their kidneys for a bigger mortgage. Plus, who wouldn’t want built-in cookie-baking allies?
Designing Spaces That Actually Work for Everyone
So, how do you avoid a Family Feud scenario? It starts with smart design. Think:
- Zoned Privacy: Grandparents need quiet? Kids need chaos? We carve out separate wings or suites so everyone gets their “me space.”
- Accessibility Smarts: Step-free entries, wider doorways, and lever handles—because nobody wants to wrestle with knobs after knee surgery.
- Shared Heart Spaces: Open kitchens where generations can collide (gracefully). Pro tip: Double dishwashers = family peace treaties.
At D&D, we laugh about the time a client in Fremont asked for “soundproofing strong enough for teen band practice.” Mission accomplished.
Why Piecemeal Reno’s Fail (And Whole Home Remodels Win)
Adding a random bedroom? That’s like putting a band-aid on a leaky roof. True multi-gen magic needs a full home remodel. Why? Because:
- Systems Integration: Your plumbing, electrical, and HVAC must handle 3x the showers, devices, and thermostat wars.
- Flow Matters: A disjointed layout in San Jose heat? No thanks. We rethink traffic patterns so you’re not playing hallway bumper cars.
- Resale Savvy: Future buyers in Santa Clara or Milpitas love flexible spaces. IMO, it’s the ultimate ROI play.
The “Abortable” Remodel Myth (And How We Dodge It)
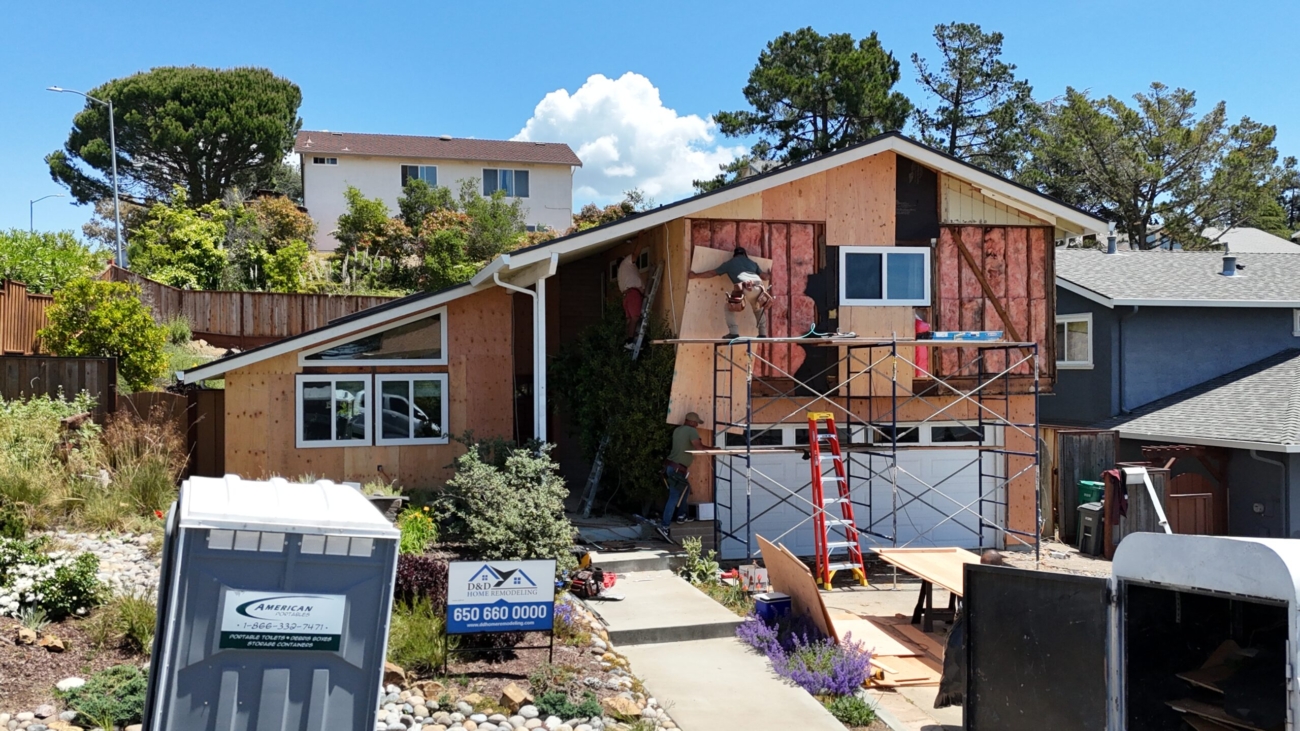
Heard horror stories about projects stalling halfway? Us too. That’s why our home remodeling services are abortable—meaning clear phases. Start with the bathroom remodeler crew for an accessible suite. Pause, budget, then tackle home additions. No all-or-nothing panic!
How D&D Makes Multi-Gen Magic Happen
Picture this: A San Jose family with twins and visiting in-laws. Chaos? Absolutely. But our general contractor team transformed their cramped 1960s rancher into a bright, connected haven with:
- A main-floor suite (bye-bye stair struggles)
- Dual-purpose rooms (office/guest room combo FTW!)
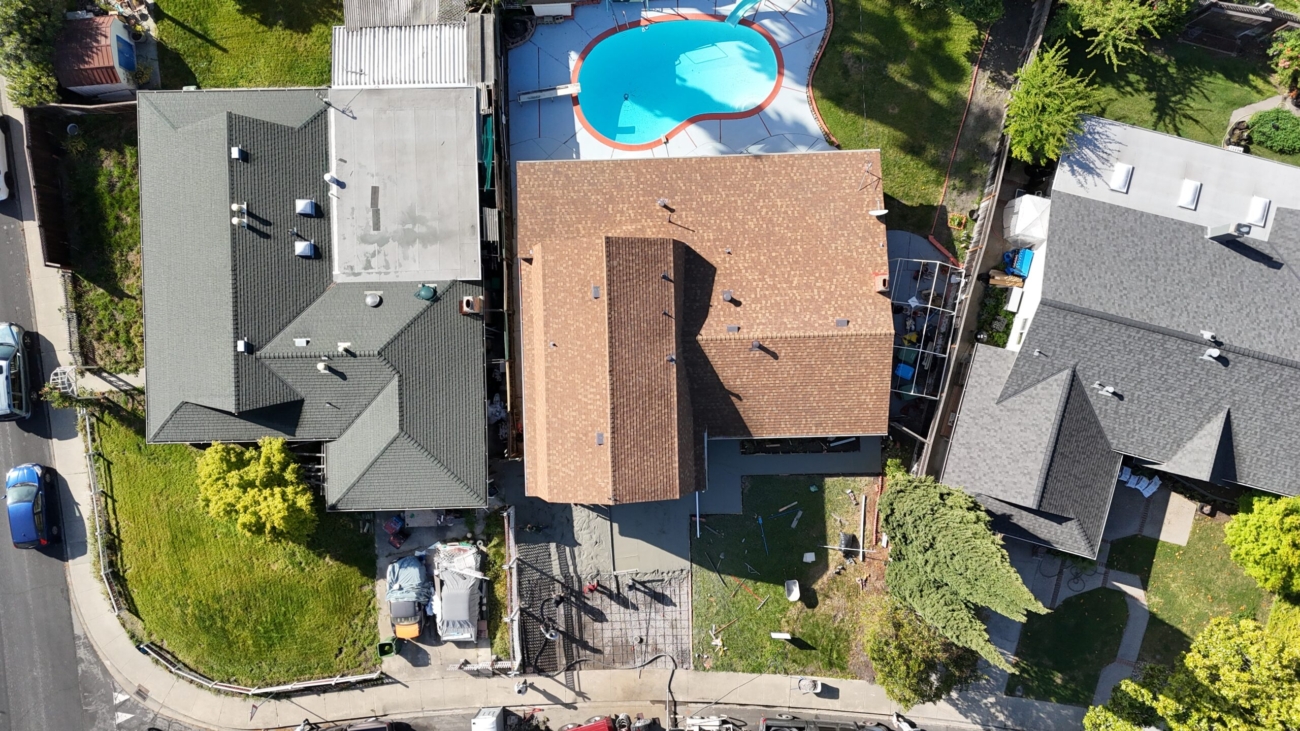
- Exterior remodeling for a seamless indoor-outdoor flow (Silicon Valley sunset views included)
We geek out over details like pocket doors and hidden storage. Why? Because clutter is the real villain here.
Budgeting Without the Heart Palpitations
Let’s address the elephant: price. A full home remodel isn’t pocket change, but it’s cheaper than two mortgages. Factors that swing cost:
| Cost Factor | Impact | Our Hack |
|---|---|---|
| Scope | Adding 500 sq. ft. vs. reconfiguring existing space | Repurpose attics/basements first! |
| Materials | Luxury finishes vs. durable mid-range | We source locally (goodbye, shipping delays!) |
| Location | San Jose permits vs. Saratoga historic codes | We handle red tape so you don’t sweat it. |
| Unexpected Surprises | “Oh look, knob-and-tube wiring!” (Classic old homes in Campbell) | 10% buffer fund. Always. |
FYI, we offer free ballpark estimates because guessing games are for casinos.
Why Your Contractor Choice Isn’t Just About “Near Me”
Sure, you could Google “best remodeling company near me.” But here’s our spicy take: The right renovation contractor gets you. We’ve seen clients in Morgan Hill hire discount crews only to redo everything. Ouch. As a house remodeling contractor team, we:
- Listen first (yes, even to Uncle Bob’s hot tub idea)
- Plan obsessively (3D renderings so you see it first)
- Communicate daily (no ghosting—we promise)
And our general remodeling ethos? “Don’t make it weird.” Your home should feel cohesive, not like a Franken-house.
Wrapping It Up: Your Multi-Gen Oasis Awaits
So, ready to turn your home into a legacy space? At D&D Home Remodeling, we’re not just builders—we’re family-space whisperers. From home additions in Sunnyvale to exterior remodeling in Saratoga, we make it seamless, smart, and (dare we say) fun. Because life’s too short for cramped kitchens and awkward silences.
Let’s chat! Contact us today for a no-pressure design consult. Your multi-generational dream home? It’s closer than you think.
FAQs: Your Burning Multi-Gen Remodel Questions
Q: How long does a whole-home remodel take?
A: Typically 4-8 months, depending on scope. We break it into phases so life stays livable. No camping in the yard required.
Q: Can we keep living at home during the remodel?
A: Absolutely! We seal off work zones and minimize dust. Just avoid the sledgehammer zone before coffee.
Q: What’s the ROI on multi-gen remodels in Silicon Valley?
A: Huge. Flexible spaces attract buyers in Cupertino, Los Gatos, etc. We’ve seen 70-90% returns—plus priceless family moments.
Q: How do we budget for surprises?
A: We include a 10-15% contingency in estimates. Old wiring? Surprise raccoon condo? Covered. No panic attacks.